If you are like me and are now hooked on tardigrades, you may want to start purchasing our own equipment to find them yourself!
You will need these materials to find tardigrades and catch them:
1. Dissecting Microscope
2. Blank Microscope Slides and Cover Slips
3. PV Mounting Medium
4. Irwin Loop or other tool
5. Petri Dishes
6. Pipettes
7. Cups, baggies, sharpies
You will need these materials to identify tardigrade species:
1. Compound Microscope
2. Keys to identify Tardigrades: The Phylum Tardigrada by Ramazzotti and Maucci.
There are two types of microscopes that you can purchase to find and view tardigrades: Dissecting or Compound
I recommend dissecting as your first microscope. A dissecting scope is intended for finding things that aren't already in a slide (there is more space between what you are looking at and the lens and it doesn't magnify them image as much. Compound has a higher magnification and is intended to use with microscope slides. I find that both can be used to find tardigrades, however if you want to make slides as well, you really need to have a dissecting scope, not a compound.
Here is an article about the difference between dissecting and compound if you want to know more.
1. DISSECTING SCOPE (to find and catch tardigrades)
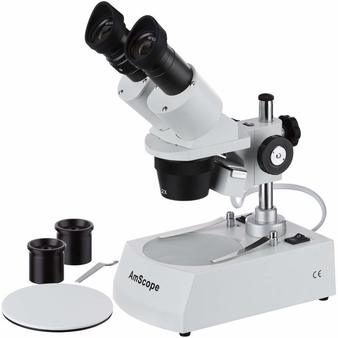
DISSECTING SCOPE:
The dissecting scope I have has a total magnification of 40x. The optical eye piece is 10x and the objective lens has two options (2x and 4x). Then, you have the option to have total magnification of either 20x or 40x.
$150 Dissecting Scope: Here's a link to my favorite dissecting scope on Amazon right now
$220 Dissecting Scope with camera: This one looks incredible! I don't have this one, but I would LOVE to get it some day because it has multiple different lenses, black and white backgrounds, light from the top and from below, and the capability to connect to a computer and take pictures! But it's pretty expensive.
LIGHT for DISSECTING SCOPE:
Sometimes, it's easier to find tardigrades with a black background and light from above with the dissecting scope. However, when you do this, the light sometimes isn't bright enough. Since the lights tend to not be the best on dissecting scopes, you may need to get an additional light. It's nice if you have a dissecting scope that has light from above and below so you can choose how you want to view the object. If you need a light as well, here's what I have.
2. MICROSCOPE SLIDES AND COVER SLIPS (to make slides)
| Slides and large cover slips 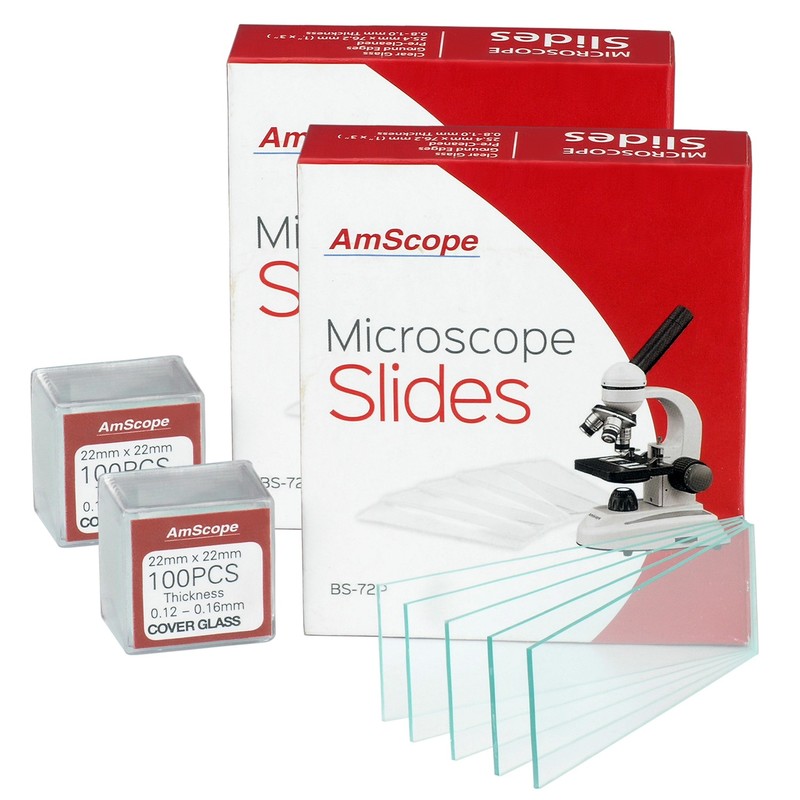 Amazon, AmScope and other sellers have the option to buy the slides and cover slips together. This is the easiest way to get them. Amazon link for the slides and bigger cover slips (20x20) | Slides and small cover slips 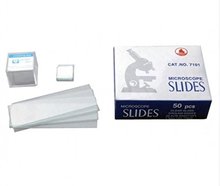 There are different sizes of cover slips though. 22mm x 22mm and 18mm x 18 mm. I like the 18 mm best, but it's a personal preference. Amazon link for the slides and smaller cover slips (18x18) | Small cover slips alone 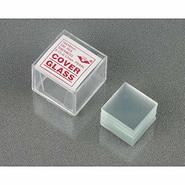 These pictured above are even smaller than the usual size. (18mm x 18mm). It's even better if you get a smaller cover slip so there is less space to search for the tardigrade later on once it's on the slide. Here's a link to Amazon for these smaller cover slips. |
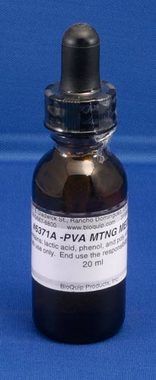
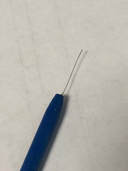
| 3. PV MOUNTING MEDIUM This type of alcohol is best for making slides of arthropods, tardigrades, rotifers and nematodes. I order it from BioQuip. #6371A PVA MTNG MEDIUM BioQuip Products, Inc 20mL I haven't found this exact mounting medium on Amazon yet, but you can order it on BioQuip here. | 4. TOOL to catch tardigrades. I use an IRWIN LOOP (You may need to make your own). Dr. Miller gave me these two Irwin Loops that his friend made for him for this very purpose. However, his friend has passed away since so we don't have access to any new ones. I haven't found tools for sale for tardigrade catching. However, some of my students have made a similar tool with wire and pens. You really just need a small surface to catch them. I like a loop, like with a bubble wand. |
 |   |
Once you get really into finding tardigrades, you'll want to take the next step and get a compound microscope. This isn't neccessary unless you want to start identifying species and look up really close on the tardigrade. There are some different options for compound scopes as well.
Optional: COMPOUND MICROSCOPE (to see microscope slides up close)
Optional: COMPOUND MICROSCOPE (to see microscope slides up close)

You don't need to get a dissecting and compound scope. However, if you want to make slides and then view them at a higher magnification, then you will eventually need to purchase a compound scope as well. Compound scopes are good microscopes for looking at slides.
$65 Compound scope Affordable
$85 Compound scope with slide making materials. Don't want to have to buy everything separately? You can order it all together here (except for the irwin loop and mounting medium.
$65 Compound scope Affordable
$85 Compound scope with slide making materials. Don't want to have to buy everything separately? You can order it all together here (except for the irwin loop and mounting medium.
Optional: COMPOUND MICROSCOPE
(takes pictures but is more expensive)
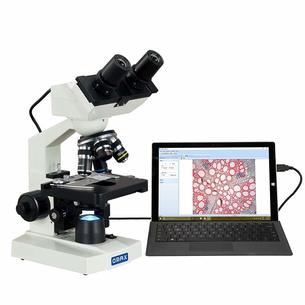
If you want to take it to the next level and actually be able to identify species, you'll need to make the slides, the look at the slides with a compound scope and then take pictures of the buccal tube, claws and other body parts. You'll need to get something to take pictures of the slides. Here are two options for the really major tardigrade enthusiasts.
$122 Compound scope that connects to a computer to take pictures
$318 Compound scope with built in camera This is my favorite, because my students surprised me last year with this as a gift. I LOVE it because it can take pictures and videos, and it has pretty powerful lenses.
(takes pictures but is more expensive)
If you want to take it to the next level and actually be able to identify species, you'll need to make the slides, the look at the slides with a compound scope and then take pictures of the buccal tube, claws and other body parts. You'll need to get something to take pictures of the slides. Here are two options for the really major tardigrade enthusiasts.
$122 Compound scope that connects to a computer to take pictures
$318 Compound scope with built in camera This is my favorite, because my students surprised me last year with this as a gift. I LOVE it because it can take pictures and videos, and it has pretty powerful lenses.
5. Petri Dishes
I focused so much on explaining the microscopes, but I forgot to explain what you need to use to first just find them and collect samples.
To collect samples, search for lichen or moss. This can be found all over (on trees, the ground, rocks, houses, gazebos, drains...). You can use a scalpel or just your fingers to pry the leafy matter off of the substrate. Then place the sample in a bag and include this information:
-GPS corrdinates (or general description of location/address...)
-subtstrate (where did you find the sample? tree? rock? ground?)
IF you found the sample on a tree, you also need to record the height at which you found it on the tree. I like to also note if it was found at canopy level or forest floor level.
IF you found the sample on a tree, you also need to include the tree species. If you don't know the species, I like to use iNaturalist to figure it out. It's an app that helps identify plant and animal species with facial recognition and a community of scientists to help. It is also good to record the GPS too.
-habitat (lichen or moss)
-Date
Then you need to place the sample in
6. Pipettes
7. Cups, baggies, sharpies...

 RSS Feed
